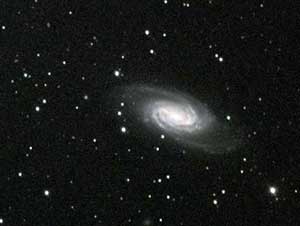
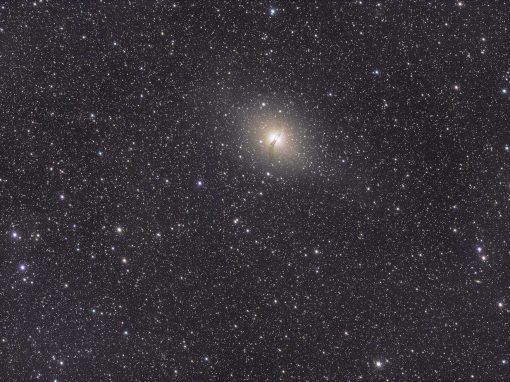
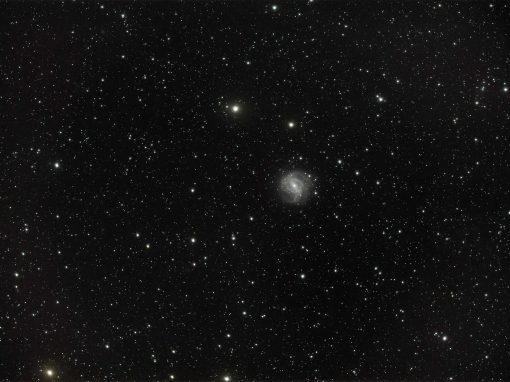
Virgo galaxy region wide field: Canon FD 50mm f1.4 & ASI183MM Pro
Capturing the Virgo Cluster
All you need is some time and patience, a cloudless night, a $50 vintage lens, a simple tracking mount and a camera. Sounds simple enough but not always achievable. The biggest variable, the weather finally played ball last night so I had the change to try out some wide field mono astro photography with my newly acquired ASI183MM camera.
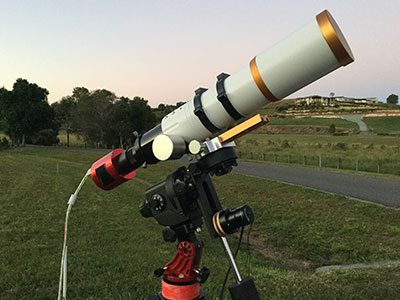
Acquisition equipment
I find wide field astrophotography to be very enjoyable & rewarding. While not being able to see as much detail in an object, the immense number of objects out there never ceases to amaze me. Its more forgiving in terms of tracking and the gear is quicker to assemble and get setup and start acquiring data. Plus, you don’t need to invest a ton of $$ on glass to get decent images. Of course, you get what you pay for but for this imaging session I used a Vintage Canon FD 50mm f1.4 lens. The lens was attached to my ASI183MM camera with the Star Adventurer as the tracking mount. Imaging the north sky from my fourth floor balcony and bathed in glorious Bortle 7 light pollution, I did a rough polar alignment using a compass and level. Then it was time to boot my Windows 10 laptop (take a deep breadth and get ready for the amazing upcoming user experience) and fire up SharpCap for image capture. All hail Windows10.


Image calibration
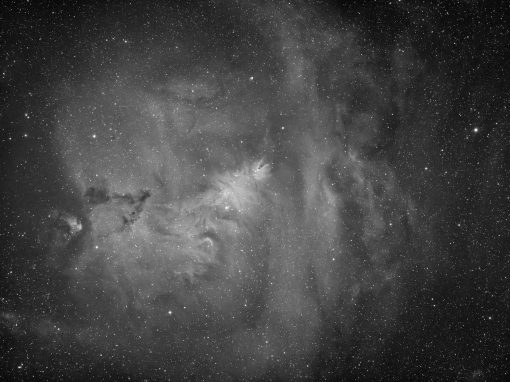
Image calibration was done using AstroPixel Processor (APP). One of the downsides of wide field imaging in builtup area is the effects of light pollution and introduced light gradients. Fortunately APP has a powerful “remove light pollution function’ tool. In the image below, the city lights are to the left and the sky to the right.

Image calibration – getting flats
Flats. Love them or hate them. Either way if you want decent/good/outstanding astrophotography images, you need to to incorporate flats into the equation. Basically they are used to counteract the vignetting associated with optics and the imaging train plus remove dust motes aka dust bunnies. I have found taking good flats to be one of the hardest parts of the whole imaging process. I recently purchased a portable A3 LED Light Box to use as a flats panel. Instead of pointing the lens/camera straight at the light box, I pointed both to the ceiling and used bounced light. I still had to fold a white T-shirt over the lens to get the exposure curve in the middle.

The light box
Ordered online and delivered in record time, the verdict is still out on the light box. However as I am now using the ASIair more and more for image acquisition, I need to find an alternative to my iPad (can’t acquire flats with the same device that acts as the light source and the Ipad is not wide enough for the RASA8)

Image calibration – darks and amp glow
The ASI183MM produces some serious amp glow. This is the star pattern artifact on the lower right of the master dark image. Don’t take darks and this beautiful pattern plus thermal noise gets introduced into the image of M42 you just spent 6 hours acquiring.

Whats next
I have a range of high quality manual focus micro four thirds lens including a Voigtlander 25mm f0.95 and a Samyang 7.5mm fish eye lens. A dark sky site with no immediate obstructions sounds like the go. The full range of Antlia LRGB plus 3.5nm narrow band filters are also on order. Once they arrive and are sitting inside the ZWO EFW, the next step will be some basic LRGB imaging of the northern skies and then learning how to process the images in APP
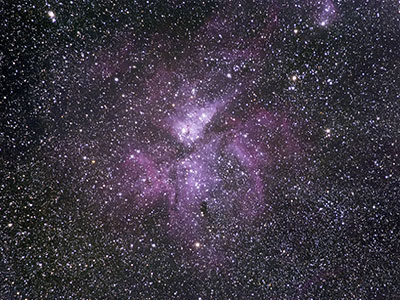
Virgo Cluster: Canon 50mm FD & ASI183MM Pro
- Lens: Olympus 50mm f1.4
- Camera: ASI183MM Pro
- Mount: Sky Watcher Star Adventurer
- Alignment: rough polar alignment using compass and level
- Capture software: SharpCap
- Guiding: none
- Image: 85 * 30 sec subs
- Gain: 135 (unity)
- Temp: 22.5 Deg C
- Processing: AstroPixel Processor: lights, darks, flats and dark flats
- Bortle Class 7 site
- Location: Brisbane Queensland
- Date: 17/6/2020
The Virgo Cluster is a cluster of galaxies whose center is 53.8 ± 0.3 Mly away in the constellation Virgo. Comprising approximately 1300 member galaxies, the cluster forms the heart of the larger Virgo Supercluster, of which our Local Group (M31, Large and Small Cloud of Magellan) is an outlying member.Wikipedia.

Get to know your neighbours
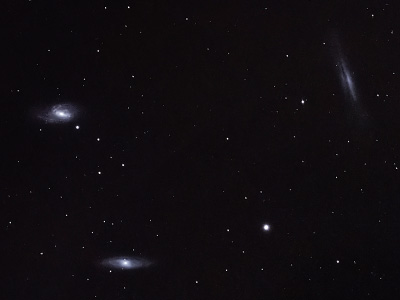
The Virgo cluster forms the heart of the larger Virgo Supercluster, of which the Local Group (containing our Milky Way galaxy) is a members. Each of the green labels in the image below denotes a galaxy, categorized as either a Messier object eg M99, an NGC object (New General Category) or an IC object (Index Catalogue)

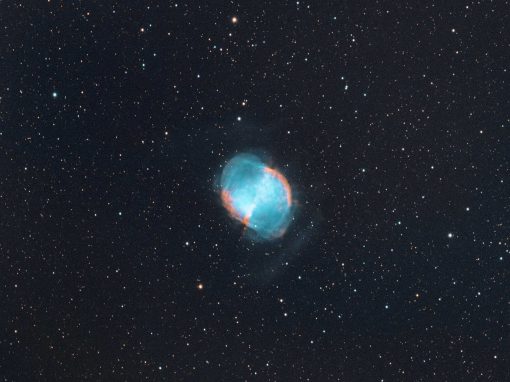
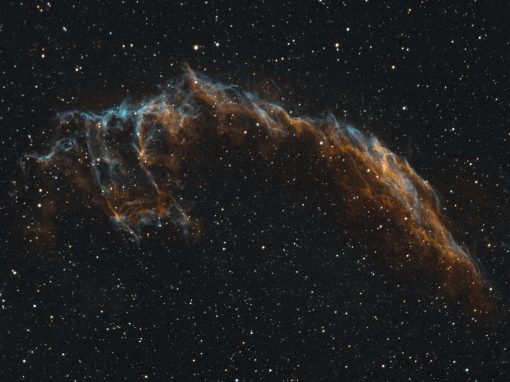
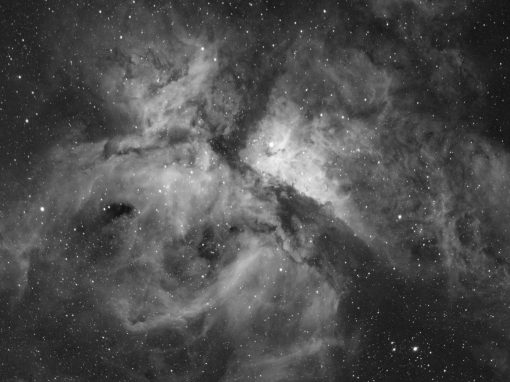
Recent Images