3D printing for Astronomy: Attaching a PoleMaster to Avalon Instruments M-Zero mount

Fabricate a PoleMaster to M-Zero adapter

The PoleMaster is a dedicated polar alignment device/camera from QHYCCD. I have been using it since it first came out and is one of the best astrophotography purchases I have made. Ease of use and polar alignment between 5-7 minutes are the selling points for me.  The PoleMaster is the first choice for polar alignment for both my Star Adventurer and CEM40 mount. However when imaging/controlling the CEM40 using the ASIair, I tend to use its polar alignment routine as it is just as straightforward and fast. With the Avalon Instruments M-Zero mount added to my astrophotography gear, it was time to fire up the CAD software, get the QIDI X-Pus 3D printer ready and fabricate an adapter to attach the PoleMaster to the M-Zero.

CAD –  Design for 3D printing in parts

The PoleMaster to M-Zero adapter was designed in two separate parts with the idea of gluing/bolting the two 3D printed pieces together. Any design flaws, for example an incorrect measurement of the hole location in the printed M-Zero attachment part requiring only it to reprinted.

PoleMaster attachment: one of two parts making up the main assembly
PoleMaster attachment
M-Zero attachment: one of two parts making up the main assembly
M-Zero attachment
The PoleMaster attachment and the M-Zero attachment assembed together
The final assembly in CAD

CAM – 3D printing with the QIDI X-Plus printer

Using the QIDI printer was straightforward with default settings for PLA filament selected. Print time was little over 2 hours. In the first version, the two parts were glued together. A second version was then designed with bolt holes to attach the two individual 3D printed parts.

The QIDI  X-Plus display highlighting the print status
QIDI X-Plus 3D printer status
 
The 3D printing just getting started
3D printing commences
Completed 3D printed parts for the PoleMaster to M-Zero mount
Finished 3D printed parts ready for assembly

Attaching to the M-Zero mount

The M-Zero mount has pretapped holes on the RA arm to attached third party polar alignment devices.  Once the weather clears and the clouds blow over, the next step is to take the M-Zero to a local park where the South Celestial Pole is visible and see how well the adapter works with the PoleMaster and the M-Zero.

Living in a north facing balcony in Queensland has its rewards such as warm winter morning sun but the downside is no South Celestial Pole is visible. Currently I am forced to do an analogue polar alignment, that is using a compass and a level to get close to PA. I then resort to drift alignment in PHD2 and although it is very accurate, it is slow and tedious.


PoleMaster to M-Zero adapter : ready for assembly
Ready for assembly
 
PoleMaster to M-Zero adapter in situ
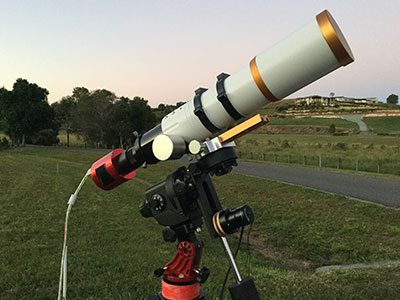
PoleMaster to M-Zero amount in situ
PoleMaster to M-Zero adapter from the rear
PoleMaster to M-Zero adapter : ready for assembly
Ready to go
 
PoleMaster to M-Zero ready to go
Ready to go
PoleMaster to M-Zero ready to go from the rear
PoleMaster to M-Zero adapter from the rear – ready to go
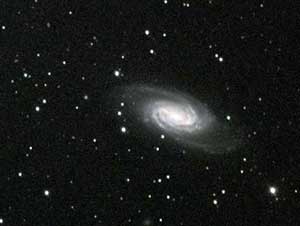
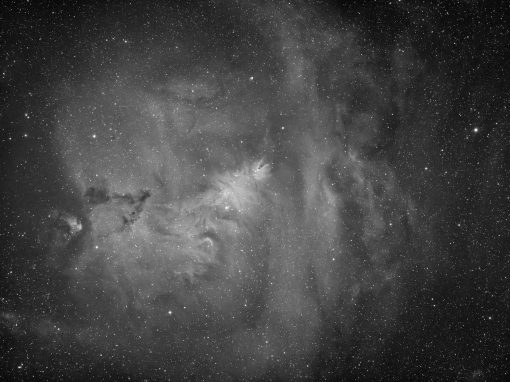
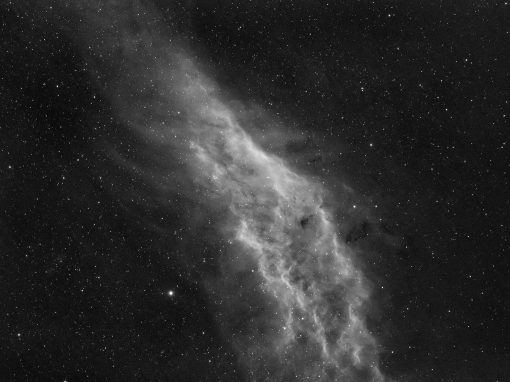
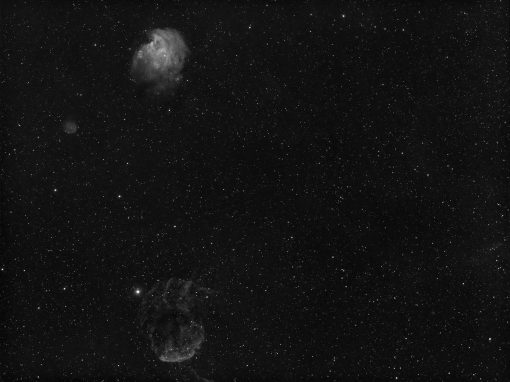
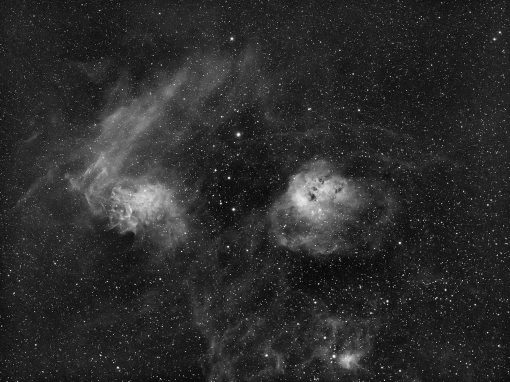
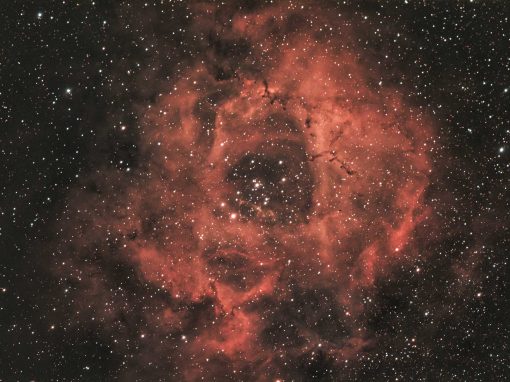
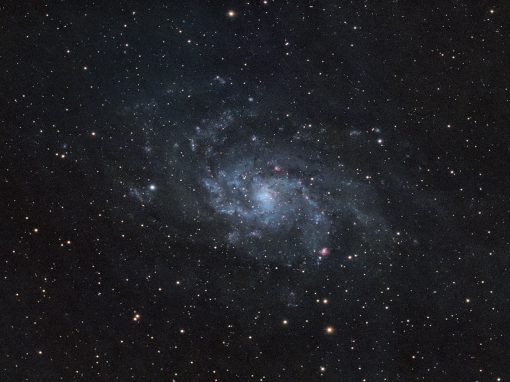
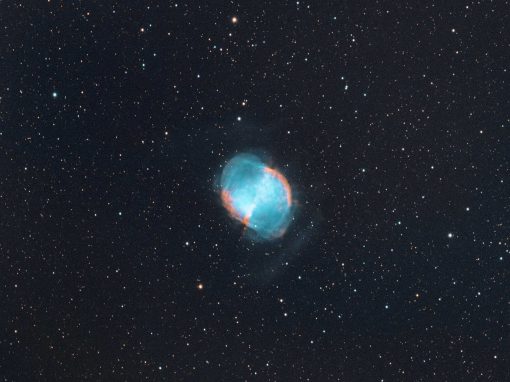
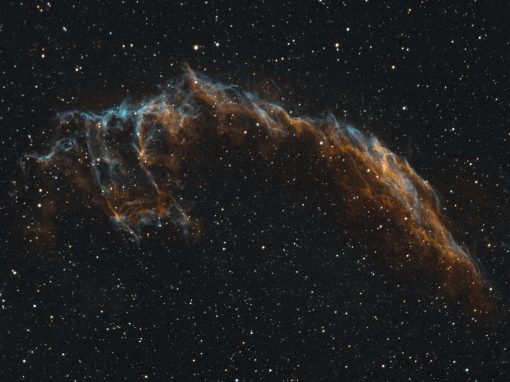
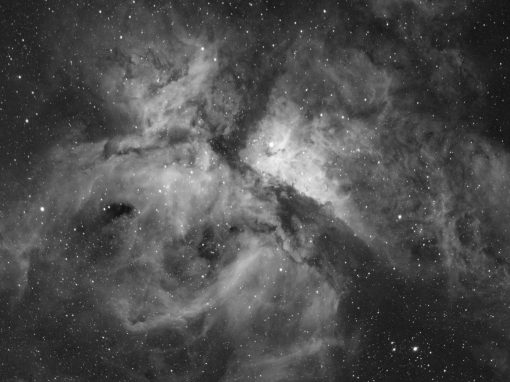
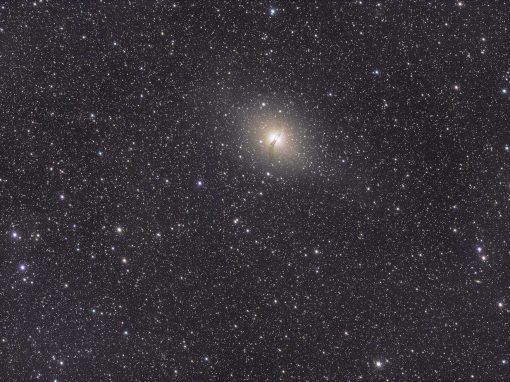
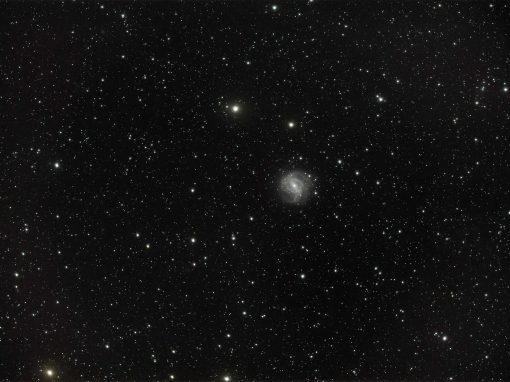
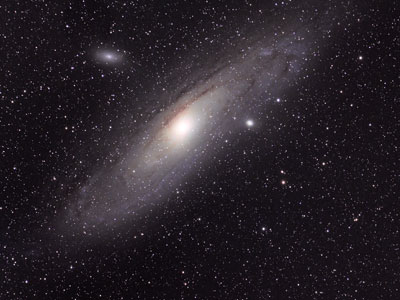
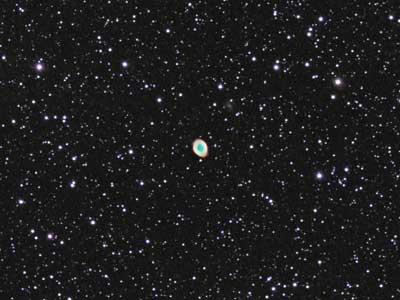
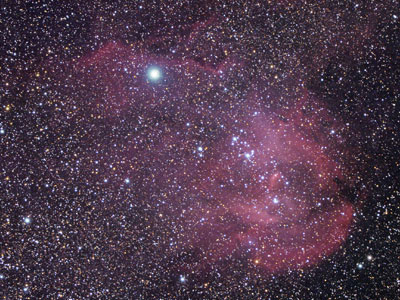
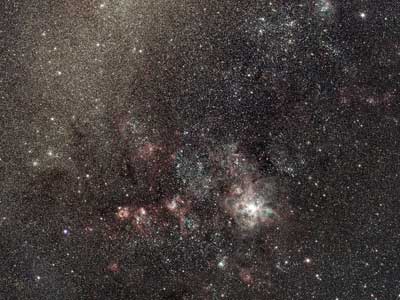
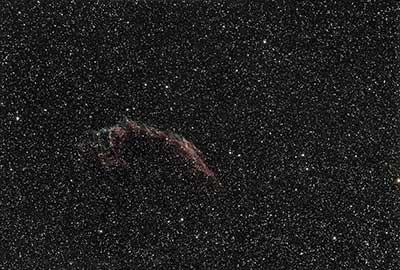
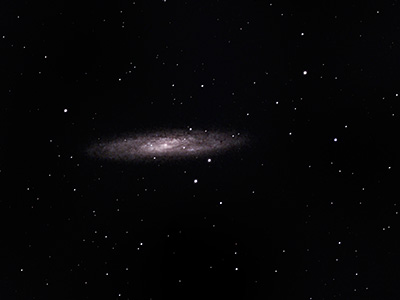
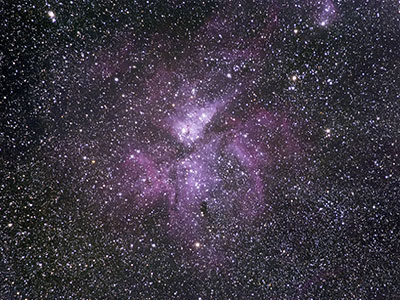
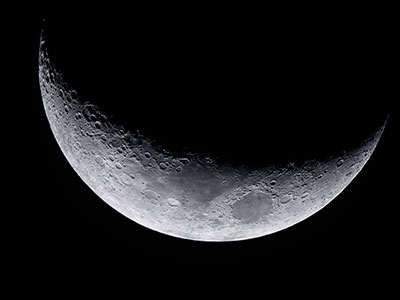
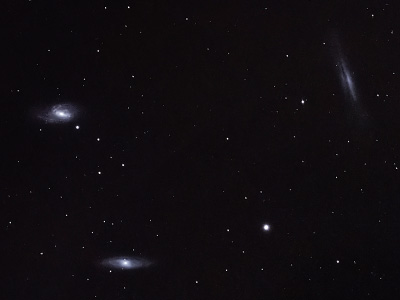
Updated 3D printed bracket for Orion 50mm guidescope

Improving the Orion 50mm guide scope adapterOne of the benefits of working in CAD software and then fabricating a functioning part using 3D printing is the ability to iterate and improve a design relatively quickly and easily. I first had the idea to move...

3D printed bracket for Polemaster to Avalon Instruments M Zero

PoleMaster  bracket part deux.This is an updated bracket to attach the PoleMaster polar alignment camera to the Avalon Instruments M Zero mount. The plan is to attach the 3D printed bracket to the bottom arm where the RA counter weights sit. Obviously this...

Changing the guide scope on the Avalon Instruments M Zero mount

New guide scope for the M-Zero mountI am looking to do longer exposures with the RASA8 using the IDAS NB1 Nebula Booster filter (up to 120 seconds). The plan is to use it in conjunction with the CEM40 mount with the Orion 50mm scope for guiding. Up till...

Configuring the M Zero mount for the Borg55FL

The Borg55FL on the Avalon Instruments M Zero mountHorizon to horizon imaging is possible when using the short focal length Borg refractor Configuring the M Zero mount for the Borg55FL Spacer rings for back focus The tilt adjuster ...

First light for the Borg55FL

Borg55FL first light with the ASI183MMWith the coming of the storm season in Brisbane plus a very busy work schedule there has been little opportunity to get the newly acquired Borg55FL under the night sky to do astrophotography. However, an unexpected...

Configuring the M Zero mount for the RASA8

The RASA8 on M Zero mount Using a drone battery with 3D print for counter weight Counterweight and guide scope setup RASA8 with clear optical filter RASA8 with optical filter removed RASA8 optical window removed IDAS RASA8 filter...

Configuring the M Zero mount for the William Optics GTF102mm f6.9 refractor

Testing the William Optics GTF102 on the M Zero mount The Avalon Instruments M- Zero mount can be configured to take a variety of telescopes by moving/flipping the L-shaped bracket that almost looks like a boomerang. To take the somewhat heavy GTF102mm...

3D printing for astronomy: ASI294MC PRO camera to Star Adventurer adapter

Wide field astrophotography  One area of astrophotography I really enjoy is wide field imaging. I started off doing wide field astrophotography with my micro four thirds cameras, the Olympus OMD-EM5, progressed to the EM1.2 and then the Panasonic GH5-S....

3D printing for astronomy: Attach a PoleMaster to Avalon Instruments M-Zero mount

Fabricate a PoleMaster to M-Zero adapterThe PoleMaster is a dedicated polar alignment device/camera from QHYCCD. I have been using it since it first came out and is one of the best astrophotography purchases I have made. Ease of use and polar alignment...

Virgo galaxy region wide field, Canon FD 50mm f1.4 & ASI183MM Pro

All you need is some time and patience, a cloudless night, a $50 vintage lens, a simple tracking mount and a camera. Sounds simple enough but not always achievable. The biggest variable, the weather finally played ball last night so I had the change to try out some...