PHD2 Guiding a Star Adventurer Portable EQ Mount
The SkyWatcher Star Adventurer is an excellent tracking mount when used for wide field astrophotography of the night sky allowing relatively long exposure image sequences without star trails. For those that want to push the limits of the mount and image deep sky objects using longer focal length telescopes and longer exposures, it provides the ability for Right Ascension – only guiding using a built in ST4 port.
The Star Adventurer does exhibit periodic error (PE) and at short focal lengths and short exposures this is not much of an issue. However at increased exposure duration’s and longer focal lengths, the affects of the periodic error becomes obvious and stars appear oblong. Fortunately guiding software such as PHD2 can be used to overcome this.
To have successful RA only guiding, a mount must be accurately polar aligned. One of the fastest (although by no means the cheapest) ways to polar align is using a PoleMaster from QHYCCD. With practice and experience, polar alignment using Pole Master is a 5-7 minute end to end procedure. (provided there are no clouds that get in the way.)

Telescope Configuration
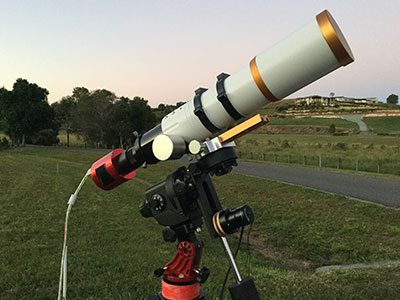
We tested the performance of PH2 guiding with the Star Adventurer using a William Optics GT71 APO refractor. The imaging camera used was the “one shot colour” CMOS ASI 294 MC Pro. (The GT71 was fitted with a WO Field Flattener 6A2 creating an effective focal length of 336 mm, with a focal ratio of f4.7)
The guide camera/guide scope setup consisted of a ASI 120 MC camera attached to an Orion 50mm. The 120MC houses an ST4 guide port, perfect for use with the Sky Adventurer.
The Sky Watcher has a maximum payload of 5kg. A rule of thumb is to load any mount to ½ the rated maximum payload for optimum tracking results. The GT71 + 6A2 FF + ASi 294 weights approximately 3kg.
To reduce overall weight, the guiding scope setup was attached to the counter weight pole of the Star Adventurer using a custom 3D printed attachment. An alternative would be to mount the guide camera on the top dove tail plate, which is the traditional configuration but an extra counter weigh would be needed to offset the increased moment. (moment = weight * pivot distance).


Connecting equipment & setting up PHD2 for RA only guiding
Connecting the equipment is straight forward. The ASI 120 MC gets connected to a laptop running PHD2 via a USB cable. Additionally plug the ST4 cable into the ASi 120 MC ST4 port and the other end to Star adventurer ST4 port. This way the ASI 120 MC sends information to PHD2 for guiding analysis via the USB cable and the resulting guide signal is sent to the Star Adventurer ST-4 guide port.
Initial PHD2 configuration consists of setting Camera = ZWO ASI Camera and Mount = On camera
PHD2 needs additional configuring to work correctly. This includes turning off DEC guiding and making sure Assume DEC orthogonal to RA is selected. After connecting the guide scope and mount, calibration took around 2 minutes.

PHD2 configuration – Algorithms TAB
Set Declination options to None and set DEC Guide Mode to OFF.. This ensures that there is no DEC guiding performed.

PHD2 configuration – Guiding TAB
Make sure Assume DEC orthogonal to RA is selected

PHD2 RA only Tracking

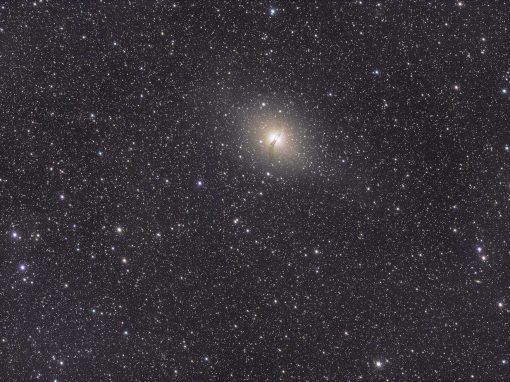
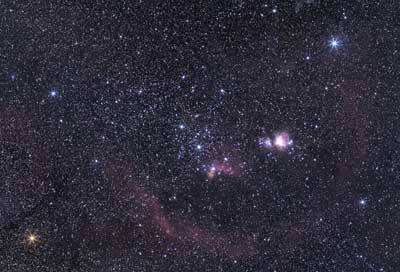
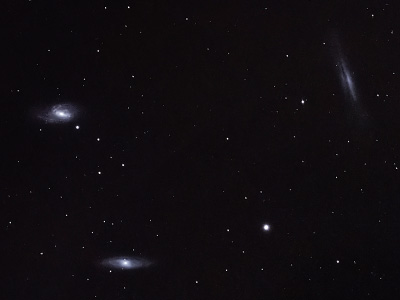
Acrux – 3 minute exposure using PHD2 guiding with Star Adventurer
Image captured with SharpCap and debayered using Nebulosity. There is slight trailing on the stars. See the high resolution image on Flickr.

Food for thought
The Star Adventurer is not a goto mount so when using longer focal length telescopes its necessary to use a Red Dot Finder and or use plate solving software to locate deep sky objects and its recommended to balance the mount slightly heavy to the east to ensure the gears constantly mesh.
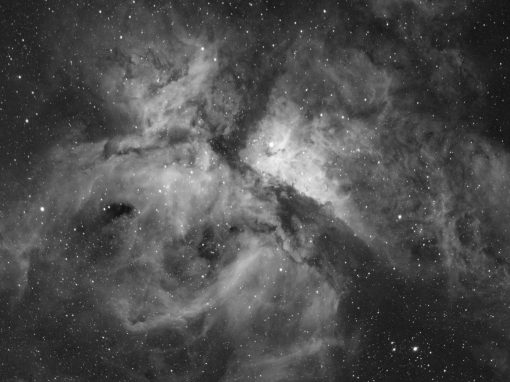
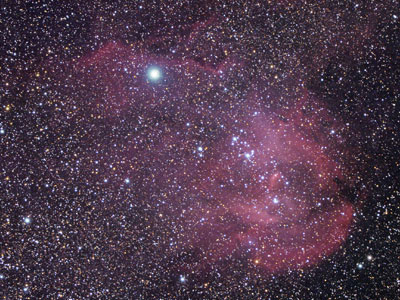
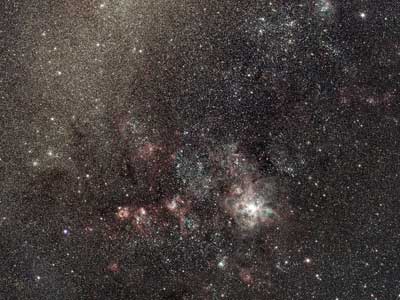
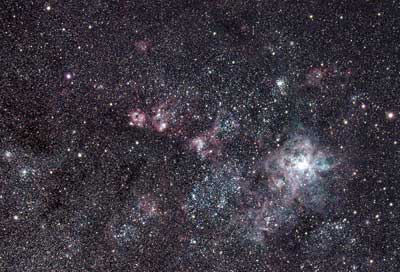
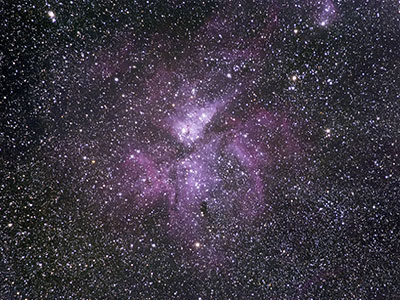
Using the Star Adventurer with OMD EM5 & Olympus 75-300 lens
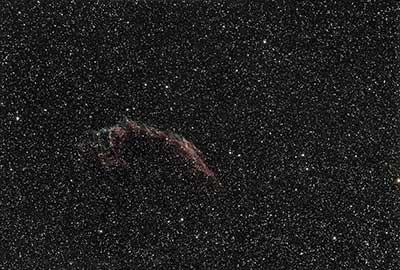
Using the micro four thirds OMD EM5 and Olympus 75-300mm extended to 300mm (ie full frame 600mm lens equivalent field of view) we were able to capture the stunning Eta Carinae nebula using the Star Adventurer without using any guiding. In this instance the mount had been accurately polar aligned using PoleMaster.
The image is 71 * 50sec lights at ISO 1600 = 60 mins. (triggered using an external intervalometer)

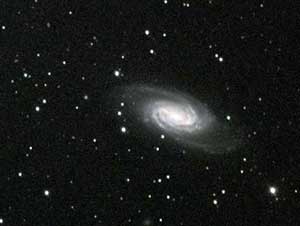
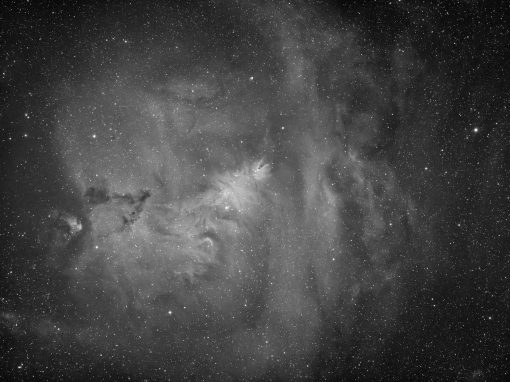
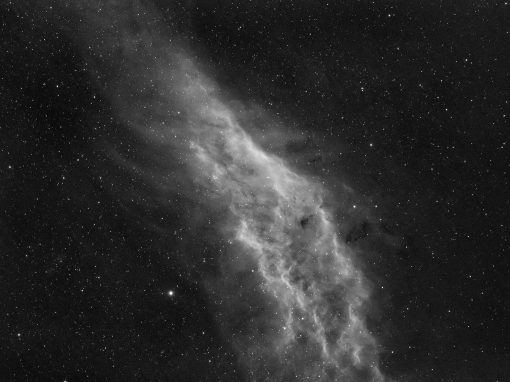
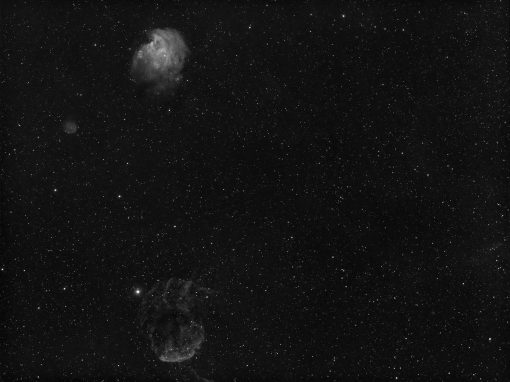
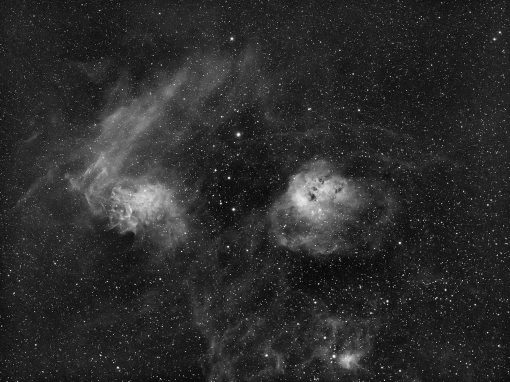
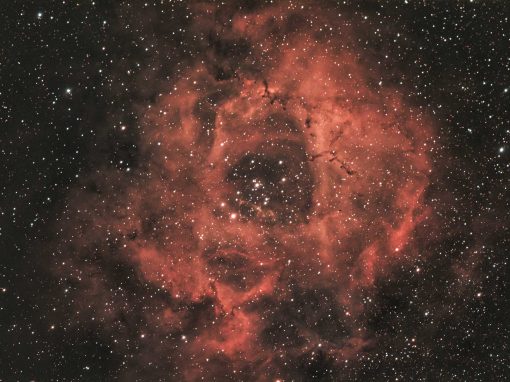
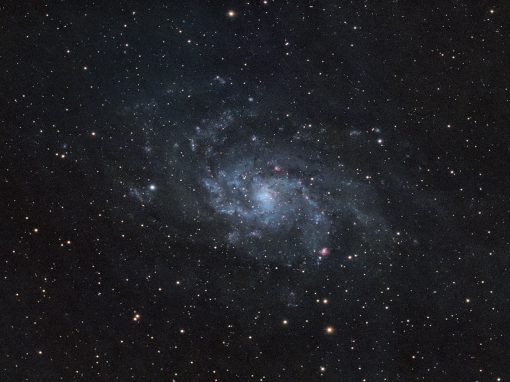
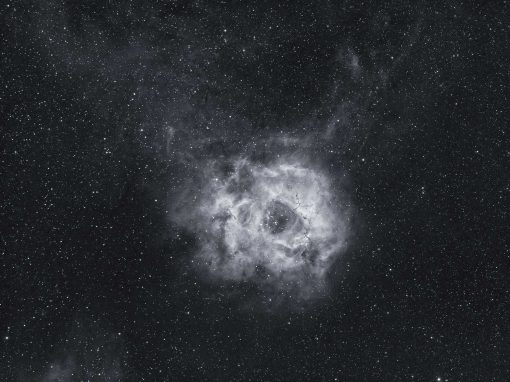
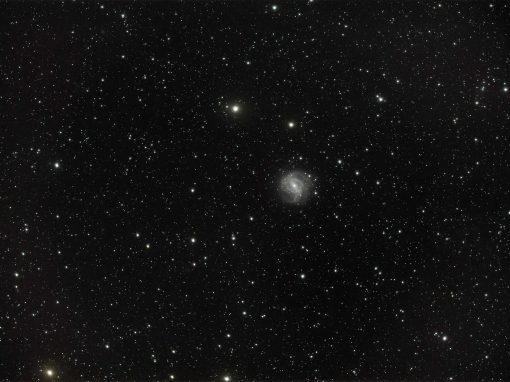
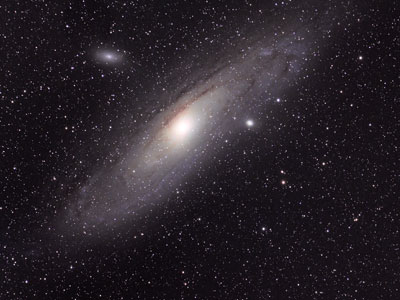
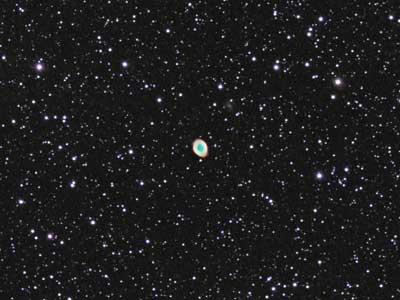
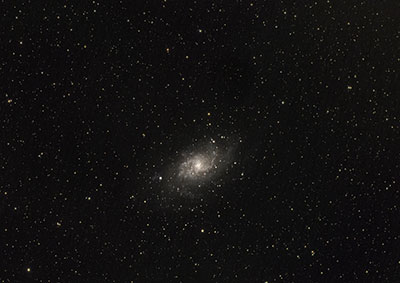
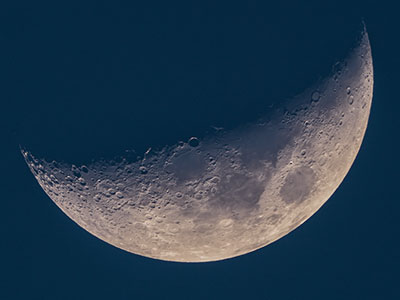
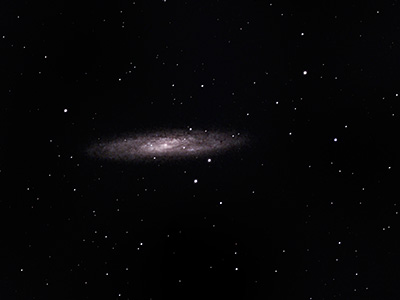
Recent Images