First Light with the ASI183MM Pro camera & William Optics GT71 telescope.
Capturing M57 and M5 with the ASI183MM and William Optics GT71
Fourth floor balcony astrophotography from my inner city Brisbane abode means I am restricted to imaging only the norther parts of the sky. M5 and M57 were perfectly positioned at around 8PM and the William Optics GT71 telescope & ASI183 mono camera were put to work. Mount control and image capture were via the ASIair and Sky Safari Pro. Plug the ASI183MM Pro and electronic filter wheel (EFW) into the ASiair and the setup was good to go. No installation of software or configuring drivers, no searching obscure website for missing DLL’s.
With only a rough polar alignment using a level and a compass, the captured exposures suffer from a degree of “walking noise” artifacts that were crushed into the blacks using Photoshop. Not necessarily a good strategy as the finer detail in feint objects gets lost. I am used to imaging with the ASI294MC Pro which has a much deeper well depth and hence dynamic range so learning the correct exposure time for different night sky objects is on the cards.
The ASI EFW was left empty as the filters are on back order so the captured images were pure mono.
The next step is the delivery of the Antlia LRGB and narrownband filters and then learning how to process mono images using Astro Pixel Processor.
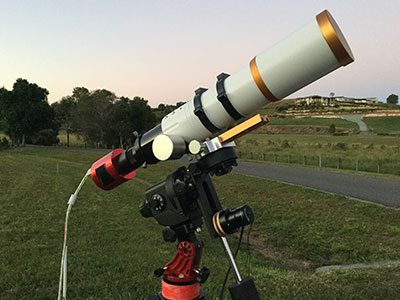
Balcony astrophotograhy gear
Imaging with a small, light weight and relatively fast refractor telescope is ideal for impromptu balcony astrophotography with a relatively short set up time involved The simplicity of use with the ASIair also helps.
To get the mount balanced correctly with the WO GT71 and other components attached, I had to design and fabricated a number of brackets using a 3D printer. These act as offset counter weights. While not so attractive, they certainly do the job well.

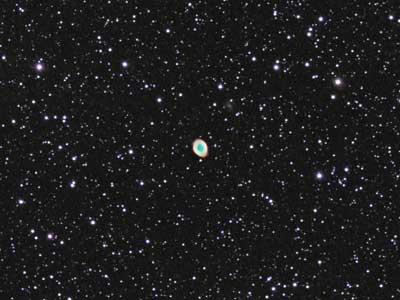
M57, the Ring Nebula captured with the ASI183MM Pro & William Optics GT71
- Telescope: William Optics GT71 with 0.8 Field flattener 6A2
- Camera: ASI183MM Pro
- Mount: Ioptron CEM40
- Alignment: none
- Guiding: ASIair
- Image: 10 * 120 sec subs
- Gain: 111 (unity)
- Temp: 0 Deg C
- Processing: AstroPixel Processor: lights only
- Bortle Class 7 site
- Location: Brisbane Queensland
- Date: 11/6/2020
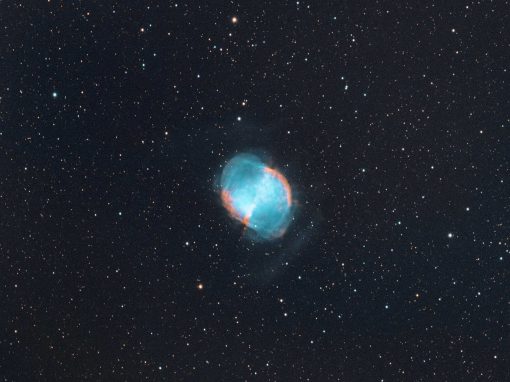
The famous M57 Ring Nebula in the constellation Lyra, also going by the name NGC 6720. Discovered by Antoine de Darquier in 1779, it was the second planetary nebula to be found and documented. It is one of the most popular planetary nebula’s with a bright central ring 0.9 light years across and a much fainter outer halo with a diameter of 2.5 light years. In 1997 it was measured at 2300 light years away.
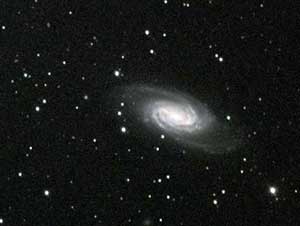
Looking north and to the right, there is the small barred spiral galaxy IC 1296. (magnitude 14.8). Not readily visible in the image below, it can just be made out in the M57 photographed with the RASA8 and ASI294.


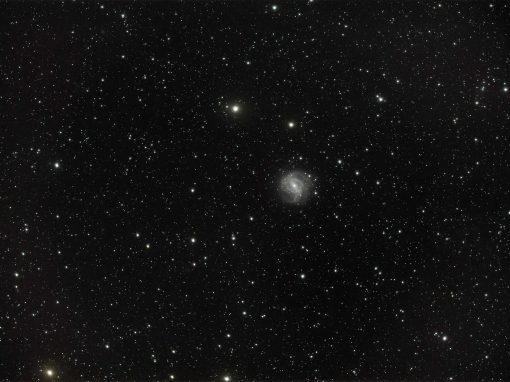
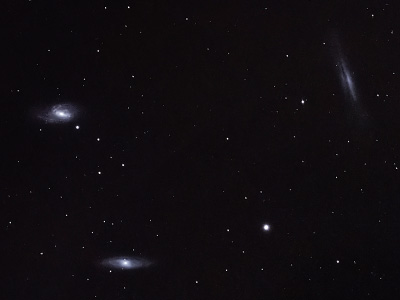
M5, globular cluster in Serpens
- Telescope: William Optics GT71 with 0.8 Field flattener 6A2
- Camera: ASI183MM Pro
- Mount: Ioptron CEM40
- Alignment: none
- Guiding: ASIair
- Image: 30 * 60 sec subs
- Gain: 111 (unity)
- Temp: 0 Deg C
- Processing: AstroPixel Processor: lights only
- Bortle Class 7 site
- Location: Brisbane Queensland
- Date: 11/6/2020
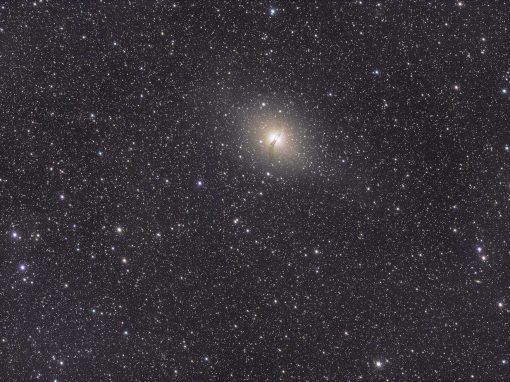
M5 or NGC 5904 was first discovered in 1702 by a German astronomer called Gottfried Kirch. Charles Messier first observed M5 in 1764 and thought it was a nebula. However in 1791, William Herschel found that M5 was actually a star cluster. Located within our galaxy, it is over 26,000 light years away, has a diameter of 150 light years and is home to hundreds of thousands of stars bound together by their collective gravity. At 13 billion years of age, M5 is believed to be one of the oldest globular clusters in our galaxy, around twice the age of our Solar System. Globular clusters have a very high star density, and therefore close interactions and near-collisions of stars occur relatively often leading to some interesting outcomes.
I decided to image M5 as it reached the highest point in the sky at 55° above my northern horizon, well above the haze. After the sequence of sub exposures were captured using the ASIair, it was a simple matter to connect it to my router via a CAT-5 cable and transfer the images to my main work station for processing with AstroPixel Processor. This consisted of just aligning and stacking the frames, as no darks or flats were taken.

Recent Images